Node on Windows Azure
I recently attended a Windows Azure User Group Meet-Up in London where we were shown some of the cool features Windows Azure has to offer from quickly hosting websites to Infrastructure-as-a-Service. The Meet-Up also included a mini-hackathon, where my team took 1st place for delivering a Node site using the Marvel API and hosted it on Windows Azure. Check out the site here.
Azures feature rich offerings can cater for a magnitude of solutions. This blog will show you how to get a Node application up on Azure with very little effort and automate deployments from a git push.
PLEASE NOTE This blog will assume you already have a Node application ready to be deployed and you have a Windows Azure account with a valid subscription. For simplicity, I will use the application we built during the hackathon. The code can be found on GitHub.
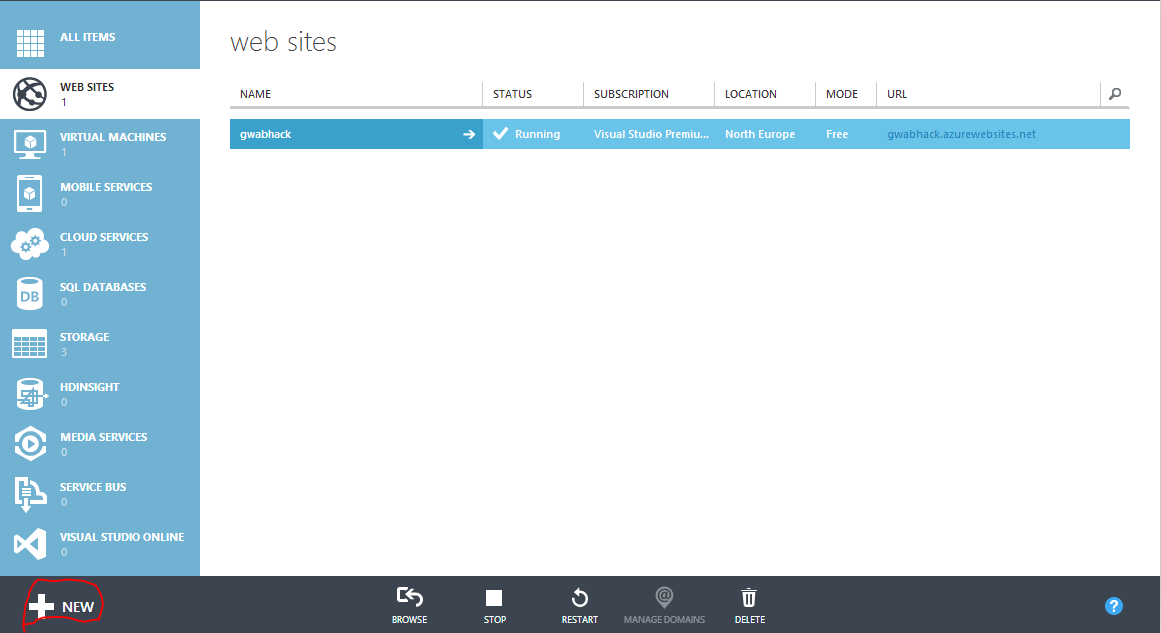
When you log into the Windows Azure Portal and click on Websites on the left hand side, you will see a new context menu appear. Click on New.
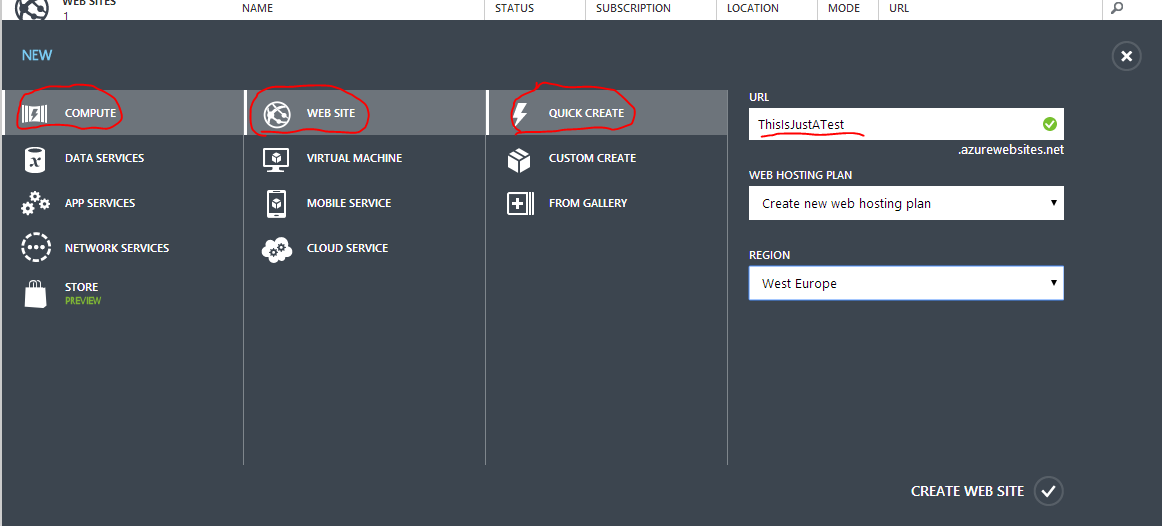
A wizard-style menu will now pop-up and you should select COMPUTE then WEB SITE then on QUICK CREATE. Finally enter the name of the website in the URL box (a little green tick should appear indicating that the site name is valid and is not already occupied) and select the region you wish to host your site.
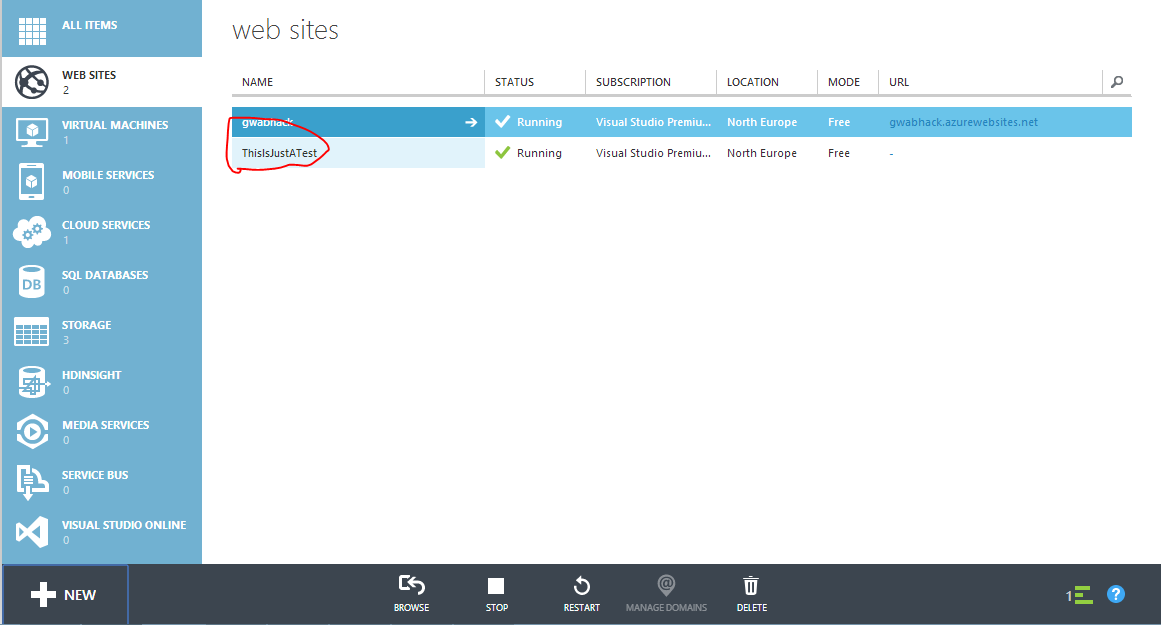
In a few seconds you will see that your website has now been created for you on the free tier. You can choose to move to a shared instance or a dedicated instance in the configuration panel of your website. For the purposes of this demo we will leave it on the free tier.
Now that we have created our web site, we need to tell Azure where to find the source.
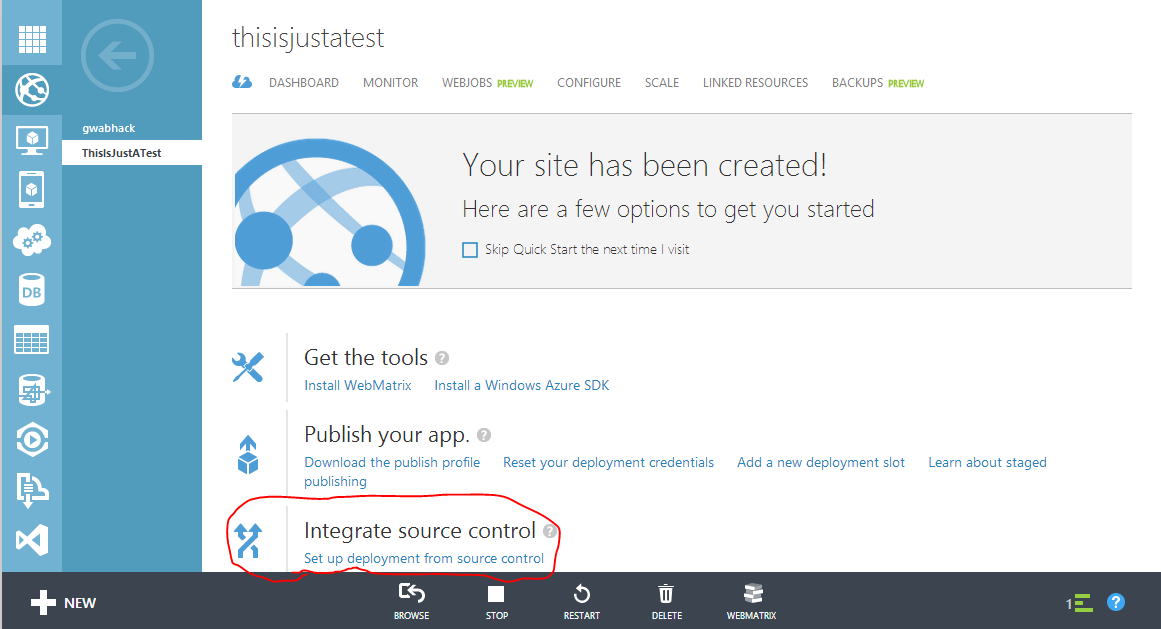
As mentioned before, we will be using our source that is hosted on GitHub for this demo, but it doesn’t have to be. In fact, there are a number of options here, including using Visual Studio Online (which is basically TFS in the cloud).
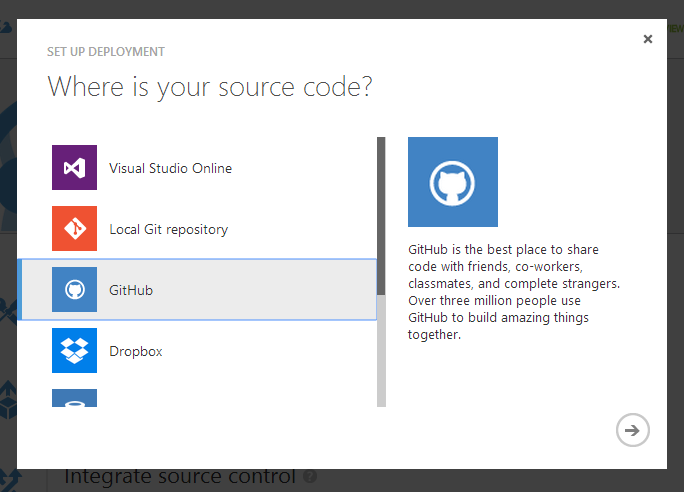
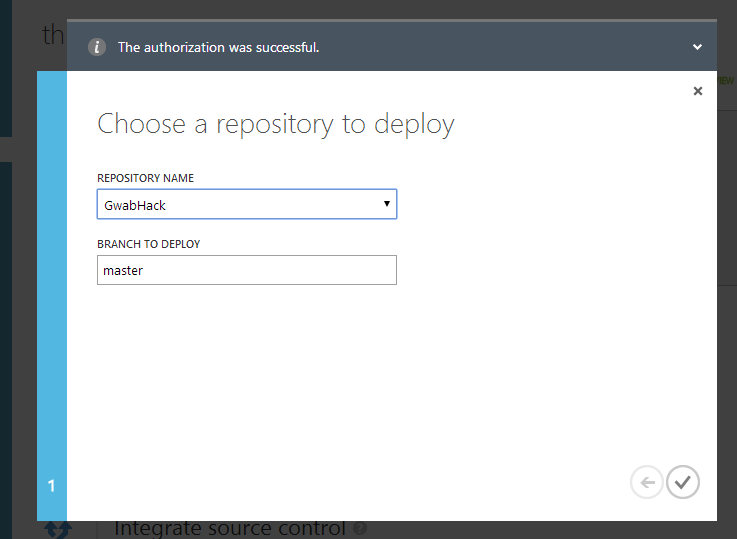
After selecting GitHub as our source (You may have to authorize Azure to access your GitHub repositories first) you can now find the repository in the list. Select the appropriate one and click the finish button.
The next screen that will appear is the Deployment screen. Windows Azure will automatically pull the source and begin building and deploying your code. In this case it was able to identify that this was a Node application and install all the necessary Node dependencies in the packages.json file.
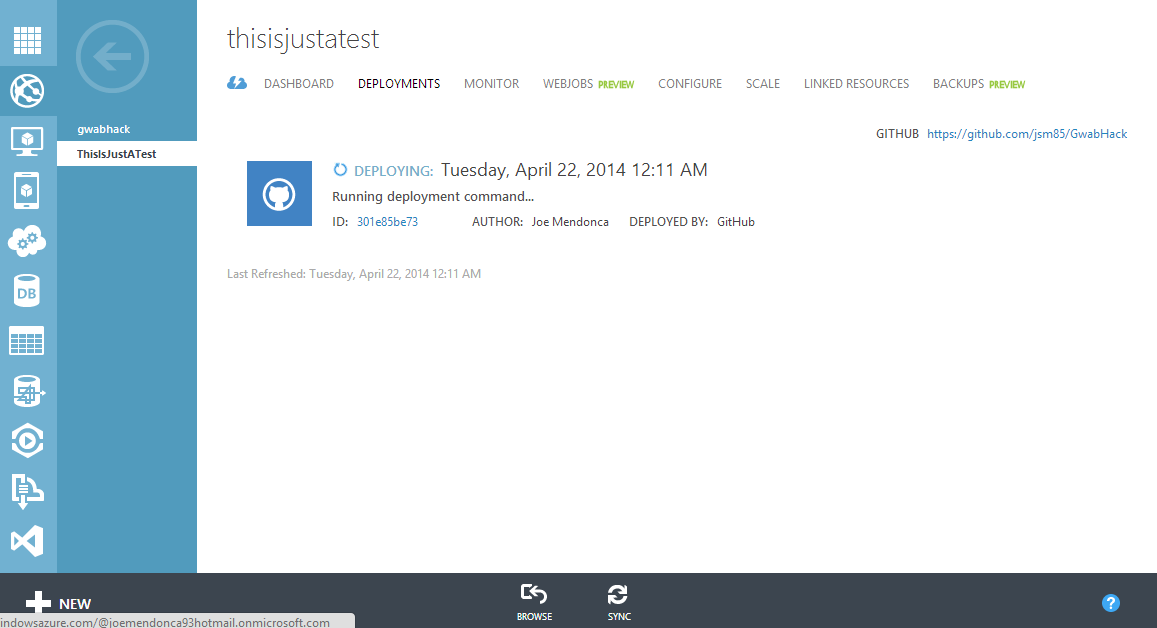
After a few minutes, providing the build was successful, Azure would have deployed your site successfully and you should be able to access the site using [SITE NAME].azurewebsites.net.
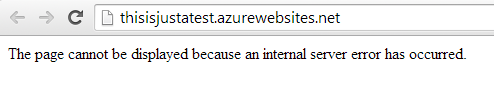
You can see that when we visit our page, we get an error message. This is because this particular project requires a key to access the Marvel API. If you are following this demo with the project I am using, head over to developer.marvel.com to register for a key.
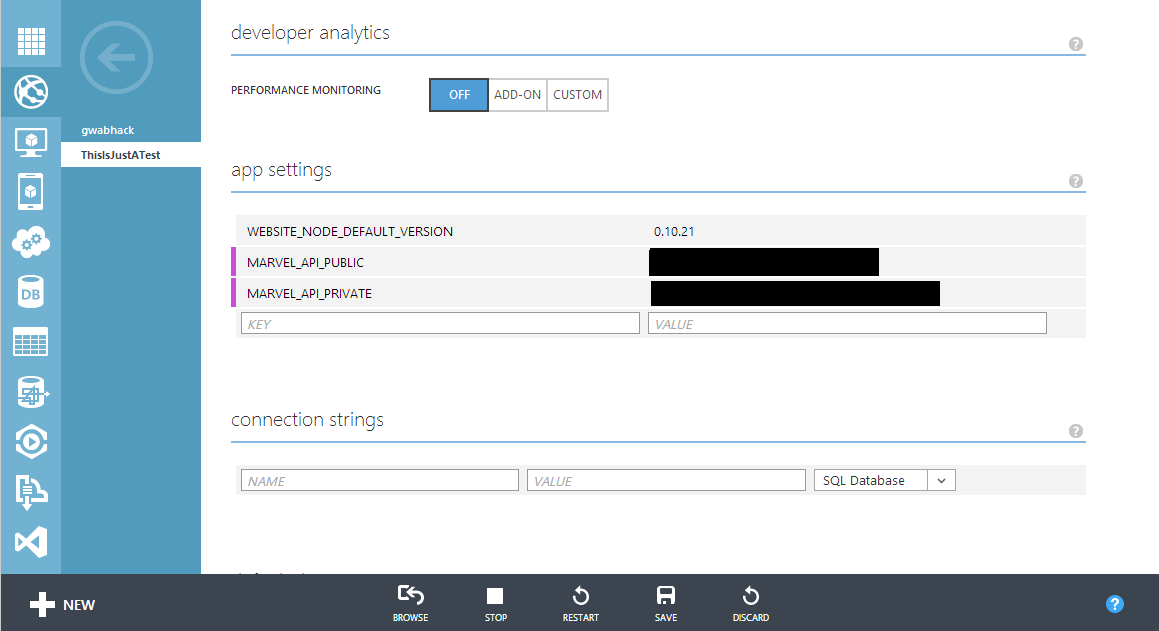
Windows Azure will allow you to add environment variables for your website, which is required for this particular project. Add an environment variable for both the public and private key as in the screenshot.
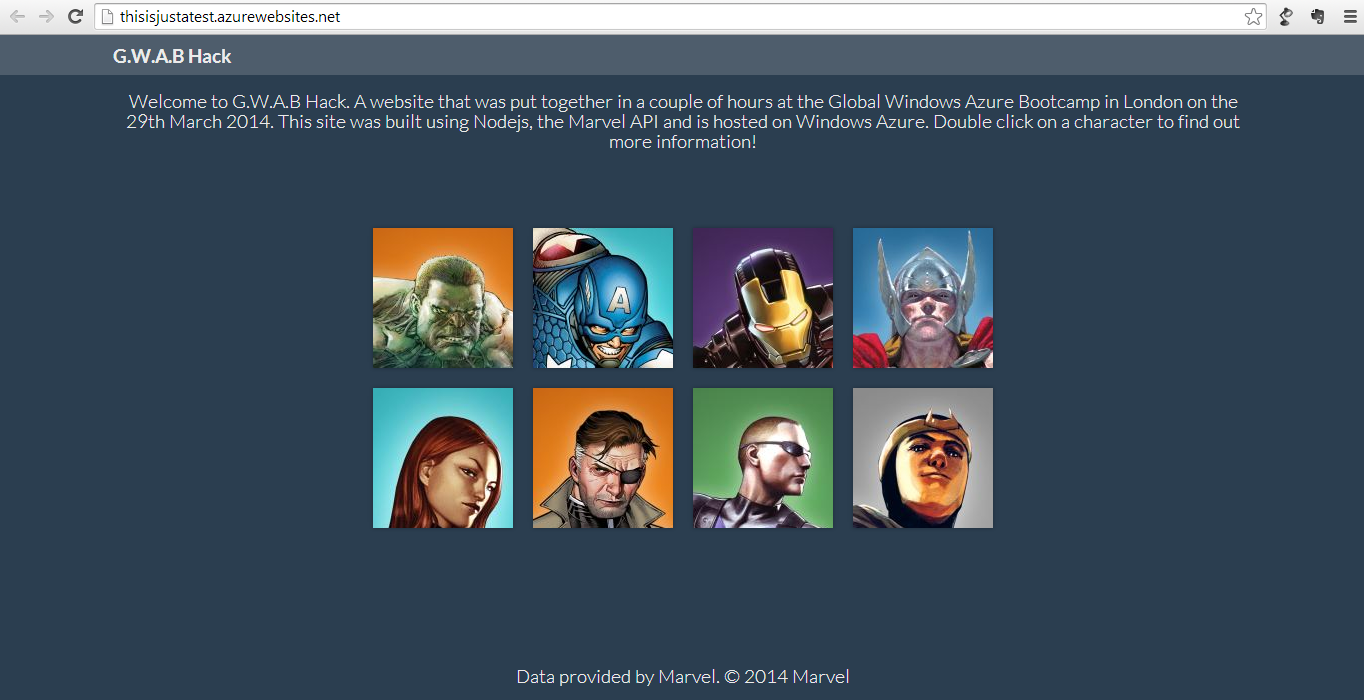
If we revisit our site, you will see we have successfully deployed our site to Windows Azure. Quick and Easy!!
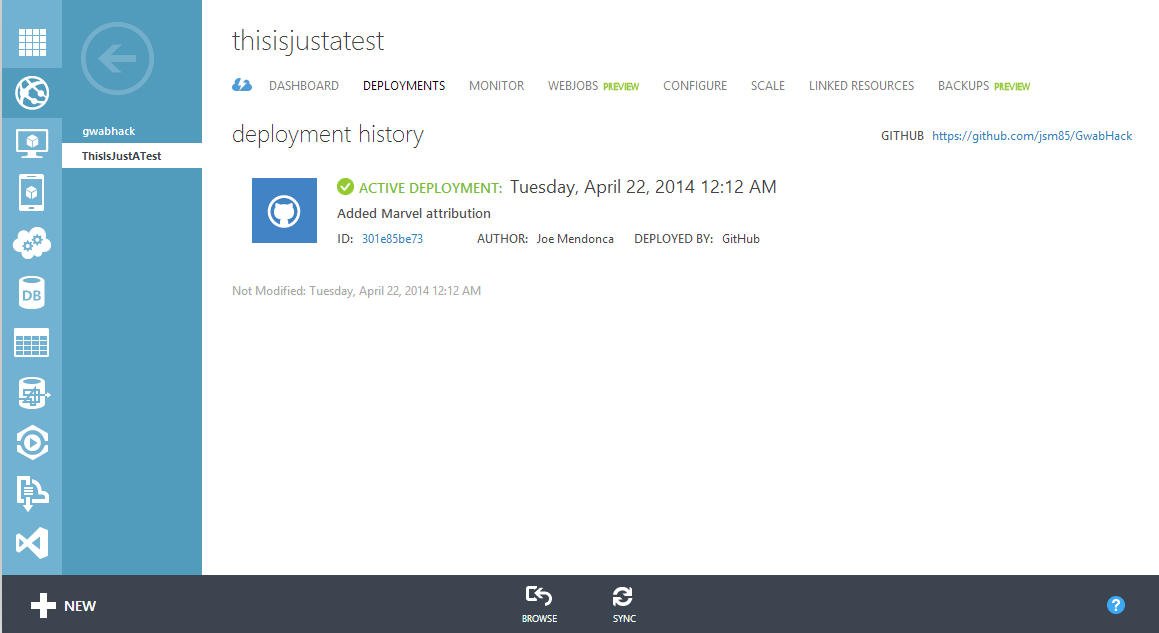
A really great feature of Windows Azure is the ability to roll back to a previous version, so if there was a commit that should not have been pushed went live, you can easily roll back to a previous version.
In a future post, I will explore how to create a custom build and deployment script so we can enable testing and ensure the build successfully passes all the tests before deployment.
There you have it, Continuous Integration and Delivery made simple with Node on Windows Azure. Enjoy!
